 Skip to content
 In this lesson, you’ll learn how to do the following:
- Open image files in AdobePhotoshop.
- Select and use tools in the Tools panel.
- Set options for a selected tool using the options bar.
- Use various methods to zoom in to and out from an image.
- Select, rearrange, and use panels.
- Choose commands in panel and context menus.
- Open and use a panel in the panel dock.
- Undo actions to correct mistakes or to make different choices.
Assignment 1.1
- Go into your school-issued Google Drive account and create a new folder titled Computer Graphics. Click the share button and share your Computer Graphics folder with your instructor.
- Inside of that folder, create another new folder titled Lesson 1.
- Now go to this folder and make a copy of the following file:
- 01AStart.psd
- SOHighSchool.psd
- Move them into your Lesson 1 folder.
- Remove the Copy of from each of the file names.
- Watch this video to learn how to log into your account to access the Adobe Photoshop picture editing software.
Assignment 1.2
- Read through Lesson 1.
- Complete the yellow highlighted steps in Adobe Photoshop.
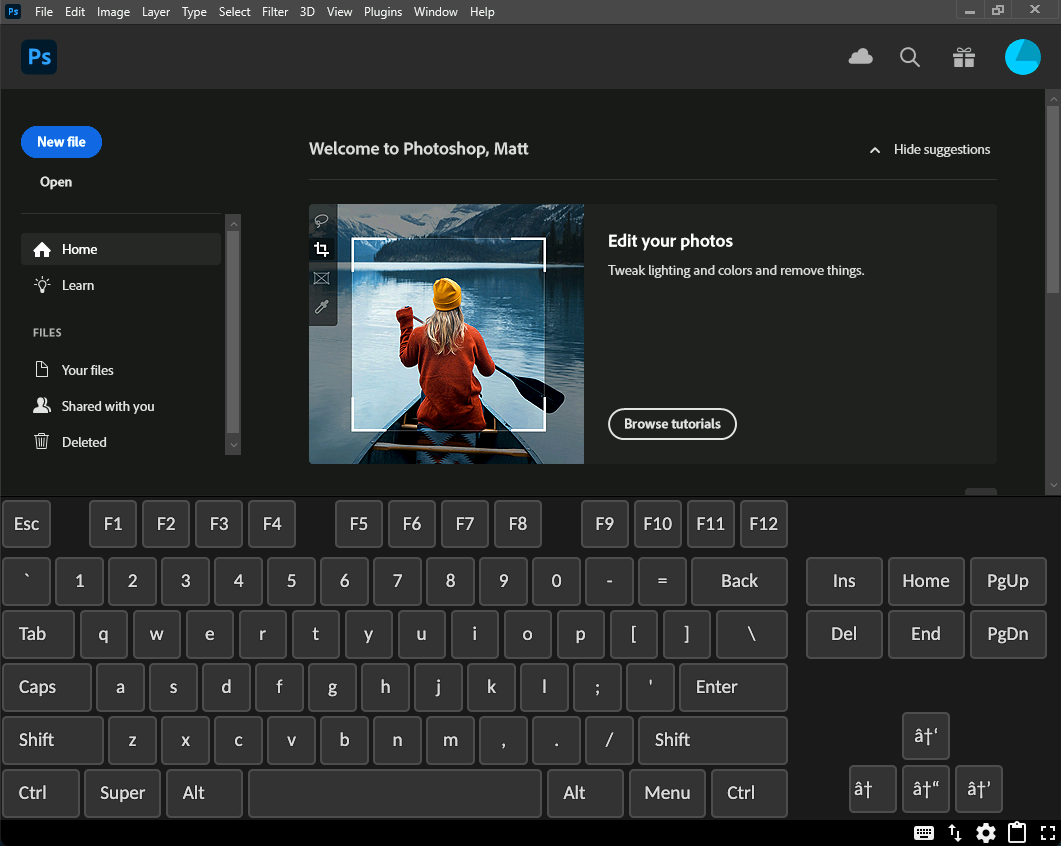
- When prompted to use a keyboard combination, be sure to use the ONSCREEN KEYBOARD within your virtual machine as shown below:

Assignment 1.3
- Make a copy of this Google Document, rename it to Lesson 1 Study Guide-(your initials), and move it into your Lesson 1 folder.
- Complete the study guide as directed.
Assignment 1.4
- Navigate to your Lesson 1 folder inside of your Computer Graphics folder. Your folder should have the following files in it:
- 01AStart.psd
- SOHighSchool.psd
- Original
- 01Working.psd
- HomeOfTheGenerals.psd
- After.psd
- Lesson 1 Study Guide
- Single-click your Lesson 1 folder and then click on the Share button. When prompted, enter your teacher’s email address and click Send.
